This article explains how to connect your Windows 10 or Windows 11 computer to the internet using Wi-Fi or an ethernet cable.
Connect Using Wi-Fi
- Select the wireless icon at the bottom right of your screen.

- Select your wireless network name from the list.

- Tick Connect automatically if this will be your main network, then select Connect.

- Enter your Wi-Fi password and select Next.
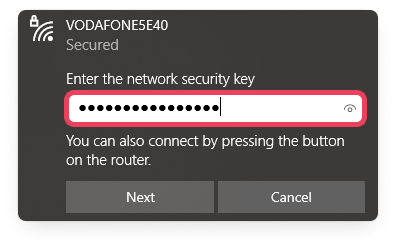
Please note: Your wireless network name and password are printed on the sticker on the back of your router, or on the card supplied with your router.Connect Using an Ethernet Cable
If your computer is near your router, a wired connection can provide a faster and more stable connection than Wi-Fi.

- Turn off your computer.
- Connect one end of the ethernet cable to the ethernet port on the side or back of your computer.
- Connect the other end of the ethernet cable to any of the yellow ports on the back of your router. You should hear a click as it locks into place.
- Restart your computer and open your web browser. You should now be connected to the internet.
Related Articles
Was this article helpful?
That’s Great!
Thank you for your feedback
Sorry! We couldn't be helpful
Thank you for your feedback
Feedback sent
We appreciate your effort and will try to fix the article