Streamline your team’s communication setup by properly adding, configuring, and assigning devices through the MYbOnline portal. This guide covers everything from setting up Yealink IP phones to assigning devices to users.
Add a New Device
To add a compatible device (such as Yealink IP cordless or desk phones):
Go to the ‘Users and devices’ page and navigate to the ‘Devices’ section.
Click ‘Add a new device’.

Enter the make, model, and MAC address of the device.

Click ‘Save’.
The device is now added to your system and ready to be set up.
Set Up a Device Using Auto Provisioning
Once your device is added:
Click the ‘…’ (ellipses) next to the device.
Select ‘Setup’.

Copy the provisioning string shown in the portal.

Next, access the Yealink phone’s web interface:
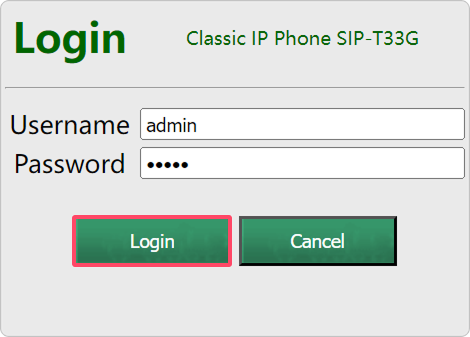
In a web browser, go to the IP address of the phone.
Log in using the default credentials:
Username:
adminPassword:
admin
Navigate to ‘Settings’ → ‘Auto Provision’.
Paste the provisioning string into the ‘Server URL’ field.

Click ‘Confirm’, then click ‘Auto Provision’.
The phone will reboot, factory reset, and auto-configure itself. Once complete, your device is ready to use.
Assigning a Device to a User
To ensure proper setup and function:
In the ‘Devices’ tab of the ‘Users and devices’ page, click ‘Assign’ next to the device.

A pop-up will appear - choose the user you want to assign the device to.

Click ‘Save’.
The assigned user will now be shown under the ‘Assigned’ heading. To unassign a device, simply click ‘None’ next to the currently assigned user.

Please note: If you're using a device not purchased from bOnline, please contact us to ensure comp.
Contact Us
We're always up for a chat! Live chat is available via the mybOnline sidebar or from the bottom-right corner of this page.
Note: This is the fastest way to reach the support team.
Other Contact Options
WhatsApp
Reach the support team via WhatsApp for quick queries.
mybOnline Portal
Log in to mybOnline and use the in-portal contact options.
Was this article helpful?
That’s Great!
Thank you for your feedback
Sorry! We couldn't be helpful
Thank you for your feedback
Feedback sent
We appreciate your effort and will try to fix the article